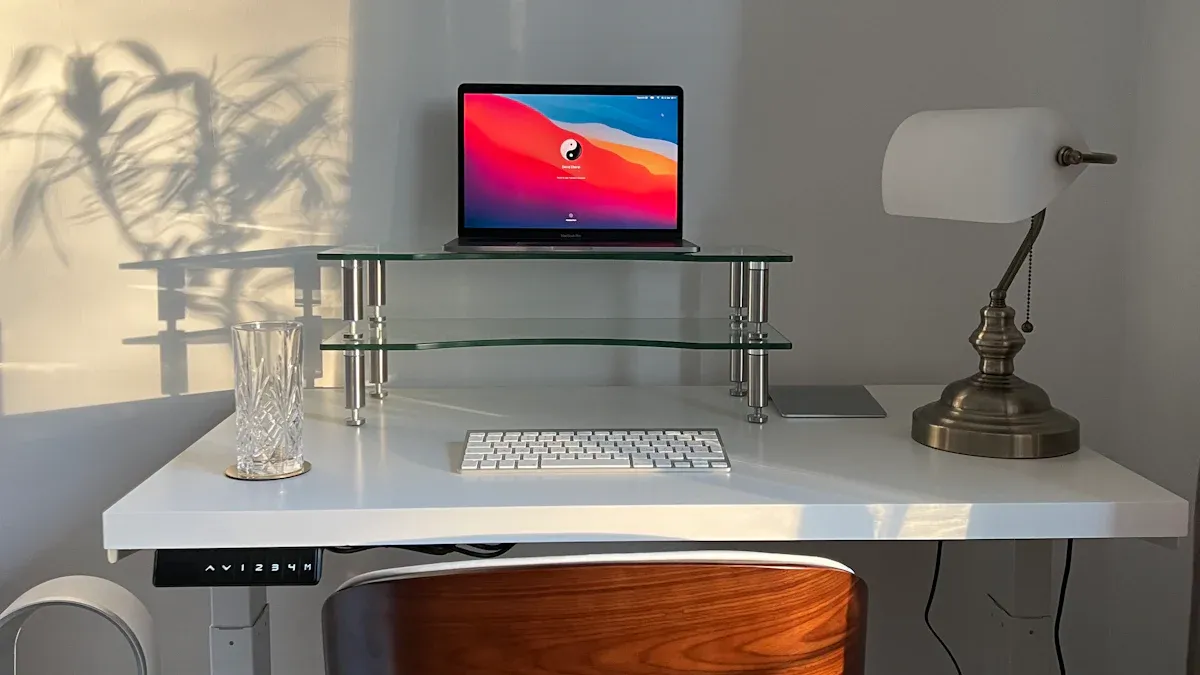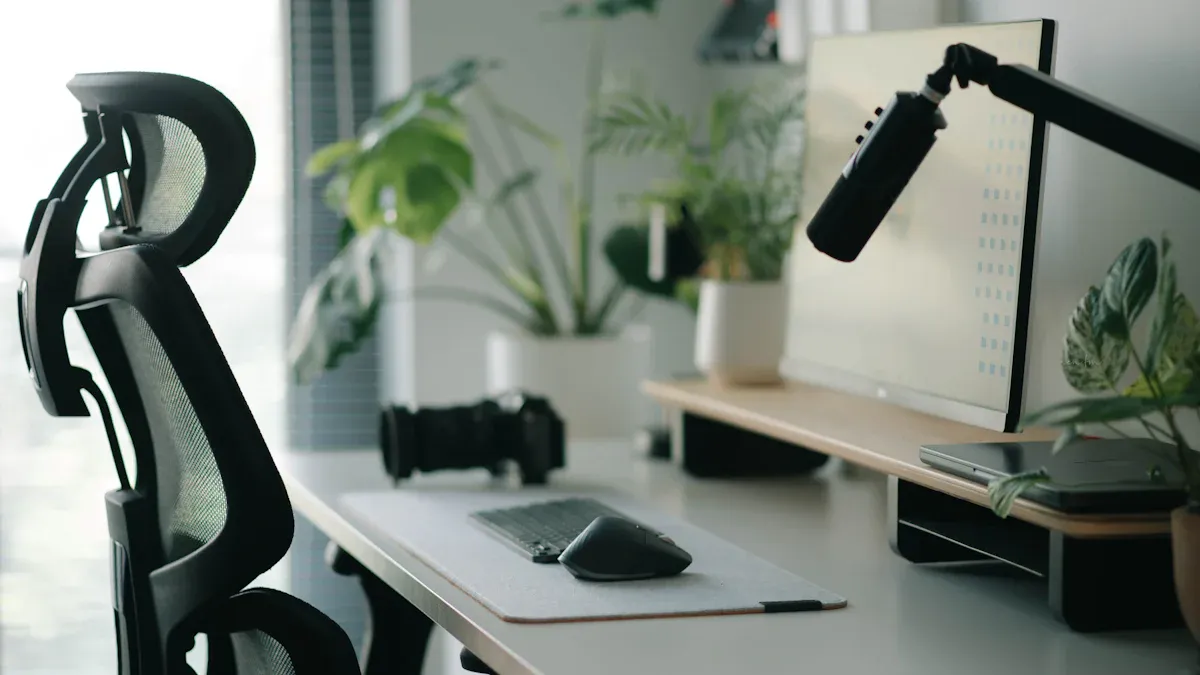
Assembling a standing desk can feel like a daunting task, but it doesn’t have to take forever! Typically, you can expect to spend anywhere from 30 minutes to an hour on sit stand desk assembly. If you have a Pneumatic Sit-Stand Desk, you might even finish quicker. Just remember, taking your time ensures everything fits perfectly. So grab your tools and get ready to enjoy your new Height Adjustable Standing Desk!
Key Takeaways
- Gather essential tools like a screwdriver and Allen wrench before starting. This preparation saves time and reduces frustration during assembly.
- Follow the step-by-step instructions carefully. Skipping steps can lead to mistakes and instability in your desk.
- Take breaks if you feel overwhelmed. Stepping away can help clear your mind and improve focus when you return.
- Adjust the desk height for comfort after assembly. Ensure your elbows are at a 90-degree angle when typing for better ergonomics.
- Check for stability after assembly. Tighten all screws and use a level to ensure your desk is even and secure.
Tools and Materials Needed to Assemble a Standing Desk

When you decide to assemble a standing desk, having the right tools and materials can make all the difference. Let’s break down what you’ll need to get started.
Essential Tools
Before you dive into the assembly, gather these essential tools:
- Screwdriver: A Phillips head screwdriver is usually required for most screws.
- Allen Wrench: Many standing desks come with hex screws, so an Allen wrench is a must-have.
- Level: This tool helps ensure your desk is perfectly balanced.
- Measuring Tape: Use this to check dimensions and ensure everything fits as it should.
Tip: Having these tools on hand will save you time and frustration during the assembly process!
Optional Tools
While the essential tools will get the job done, consider these optional tools for added convenience:
- Power Drill: If you want to speed up the process, a power drill can make driving screws much quicker.
- Rubber Mallet: This can help gently tap parts into place without damaging them.
- Pliers: Useful for gripping and twisting any stubborn screws or bolts.
Materials Included in the Package
Most standing desks come with a package of materials that you’ll need for assembly. Here’s what you can typically expect to find:
- Desk Frame: The main structure that supports the desktop.
- Desktop: The surface where you’ll place your computer and other items.
- Legs: These provide stability and height adjustment.
- Screws and Bolts: A variety of fasteners to hold everything together.
- Assembly Instructions: A guide that walks you through the assembly process step-by-step.
By gathering these tools and materials, you’ll be well-prepared to assemble a standing desk without stress. Remember, taking your time and being organized will lead to a smoother experience!
Step-by-Step Assembly Guide to Assemble a Standing Desk

Preparing Your Workspace
Before you start assembling your standing desk, take a moment to prepare your workspace. A clean and organized area can make a huge difference. Here’s what you should do:
- Clear the Area: Remove any clutter from the space where you’ll be working. This helps you focus and prevents distractions.
- Gather Your Tools: Place all your essential tools within reach. Having everything handy saves you time and keeps the process smooth.
- Read the Instructions: Take a few minutes to skim through the assembly instructions. Familiarizing yourself with the steps can help you anticipate what’s coming next.
Tip: Consider laying out the parts in the order you’ll need them. This way, you won’t waste time searching for pieces during assembly.
Assembling the Desk Frame
Now that your workspace is ready, it’s time to assemble the desk frame. Follow these steps carefully:
- Identify the Frame Parts: Locate the legs and crossbars. Make sure you have all the necessary screws and bolts.
- Attach the Legs: Start by attaching the legs to the crossbars. Use the Allen wrench to secure them tightly. Ensure each leg is aligned properly for stability.
- Check for Levelness: Once the legs are attached, use your level to check if the frame is even. Adjust as needed before moving on.
Note: Don’t rush this step. A sturdy frame is crucial for a stable standing desk.
Attaching the Desktop
With the frame assembled, it’s time to attach the desktop. Here’s how to do it:
- Position the Desktop: Carefully place the desktop on top of the frame. Make sure it’s centered and aligned with the legs.
- Secure the Desktop: Use the screws provided to attach the desktop to the frame. Tighten them securely, but be careful not to overtighten, as this can damage the wood.
- Final Check: Once everything is attached, double-check that all screws are tight and the desk feels stable.
Tip: If you have a friend or family member available, ask them to help you hold the desktop in place while you secure it. This can make the process easier and more efficient.
By following these steps, you’ll successfully assemble a standing desk without stress. Remember, taking your time and being methodical will lead to a better end result!
Final Adjustments
Now that you’ve assembled your standing desk, it’s time for the final adjustments. These tweaks will ensure your desk is comfortable and functional for your needs. Here’s what you should do:
-
- Stand in front of your desk and adjust the height so that your elbows are at a 90-degree angle when typing. Your wrists should be straight, and your hands should float comfortably above the keyboard.
- If your desk has preset height settings, take a moment to test each one. Find the height that feels best for you.
-
Check Stability:
- Gently shake the desk to see if it wobbles. If it does, double-check that all screws and bolts are tightened. A stable desk is crucial for a productive workspace.
- If you notice any instability, consider placing a level on the desktop to ensure it’s even. Adjust the legs if necessary.
-
Organize Your Workspace:
- Take a few minutes to arrange your items on the desk. Keep frequently used items within arm’s reach. This will help you maintain an efficient workflow.
- Consider using cable management solutions to keep cords tidy. This not only looks better but also prevents tangling.
-
Test Your Setup:
- Spend some time working at your new desk. Pay attention to how it feels. If something seems off, don’t hesitate to make further adjustments.
- Remember, it might take a few days to find the perfect setup. Be patient with yourself as you get used to your new workspace.
Tip: If you experience discomfort while using your standing desk, consider alternating between sitting and standing. This can help reduce fatigue and improve your overall comfort.
By taking these final adjustments seriously, you’ll create a workspace that supports your productivity and well-being. Enjoy your new standing desk!
Tips for a Smooth Assembly Process
As you prepare to assemble a standing desk, keeping a few tips in mind can make the process much smoother. Let’s dive into some strategies that will help you stay organized and focused.
Organizing Parts
Before you start, take a moment to organize all the parts. Lay everything out on a flat surface. Group similar items together, like screws, bolts, and frame pieces. This way, you won’t waste time searching for what you need. You can even use small containers or zip bags to keep screws and bolts from getting lost.
Tip: Label each group if you have multiple types of screws. This simple step can save you a lot of headaches later!
Following Instructions
Next, make sure to follow the assembly instructions closely. Each desk comes with a unique set of guidelines, so don’t skip this step. Read through the instructions fully before you begin. This helps you understand the overall process and anticipate any tricky parts.
If you find a step confusing, don’t hesitate to refer back to the instructions. It’s better to take a moment to clarify than to rush and make mistakes. Remember, assembling a standing desk is a process, and patience is key!
Taking Breaks
Lastly, don’t forget to take breaks during the assembly. If you start to feel frustrated or tired, step away for a few minutes. Grab a drink, stretch, or take a short walk. This will help clear your mind and keep your energy up.
Note: A fresh perspective can make a big difference. When you return, you might find that a solution to a problem comes to you more easily.
By organizing your parts, following instructions carefully, and taking breaks, you’ll make the assembly process much more enjoyable. Happy assembling!
Common Pitfalls to Avoid When You Assemble a Standing Desk
As you assemble your standing desk, watch out for these common pitfalls. Avoiding them will help you have a smoother experience.
Skipping Steps
It might be tempting to skip steps, especially if you feel pressed for time. But don’t do it! Each step in the assembly instructions is there for a reason. Missing a step can lead to instability or even damage to your desk. Take your time and follow the instructions closely.
Tip: If you find a step confusing, pause and reread the instructions. It’s better to clarify than to rush and make mistakes.
Misplacing Parts
Misplacing parts can be a real headache. You might think you’ll remember where everything goes, but it’s easy to lose track. Keep all screws, bolts, and pieces organized. Use small containers or zip bags to separate different types of hardware.
Note: Label each container if you have multiple types of screws. This simple step can save you time later!
Rushing the Process
Rushing through the assembly can lead to errors. You might overlook important details or misalign parts. Take breaks if you start to feel overwhelmed. A fresh perspective can help you spot mistakes you might have missed.
Remember: Assembling a standing desk is a process. Enjoy it! You’re creating a workspace that will support your productivity.
By avoiding these pitfalls, you’ll set yourself up for success. Take your time, stay organized, and follow the instructions. You’ll have your standing desk ready in no time!
Post-Assembly Adjustments and Troubleshooting for Your Standing Desk
Adjusting Height Settings
Now that you’ve assembled your standing desk, it’s time to adjust the height settings. This step is crucial for your comfort and productivity. Here’s how to do it:
- Stand Up: Position yourself in front of the desk.
- Elbow Angle: Adjust the desk height so your elbows form a 90-degree angle when typing. Your wrists should stay straight, and your hands should hover comfortably above the keyboard.
- Test Different Heights: If your desk has preset height options, try them out. Find the one that feels best for you.
Tip: Don’t hesitate to make adjustments throughout the day. Your ideal height might change depending on your activity!
Ensuring Stability
A stable desk is essential for a productive workspace. Here’s how to ensure your standing desk remains steady:
- Check All Screws: Go over each screw and bolt to make sure they’re tight. Loose screws can lead to wobbling.
- Use a Level: Place a level on the desktop to confirm it’s even. If it’s not, adjust the legs accordingly.
- Test It Out: Gently shake the desk. If it wobbles, double-check the screws and adjust the legs until it feels solid.
Note: A stable desk helps prevent spills and accidents, so take this step seriously!
Addressing Common Issues
Sometimes, you might run into a few hiccups after assembly. Here are some common issues and how to fix them:
- Wobbling Desk: If your desk wobbles, check the screws and ensure all parts are aligned. Adjust the legs if necessary.
- Height Adjustment Problems: If the height adjustment isn’t working smoothly, check for any obstructions or debris in the mechanism. Clean it out if needed.
- Desktop Scratches: To prevent scratches, consider using a desk mat. It protects the surface and adds a nice touch to your workspace.
Remember: Troubleshooting is part of the process. Don’t get discouraged if things aren’t perfect right away. With a little patience, you’ll have a desk that works just right for you!
As you wrap up your standing desk assembly, remember that it typically takes about 30 minutes to an hour. You’ll need essential tools like a screwdriver and an Allen wrench, along with the materials included in your desk package.
Tip: Take your time! Following each step carefully will help you avoid stress and create a workspace that suits your needs. Enjoy your new desk and the benefits of a healthier work environment!
FAQ
How long does it take to assemble a standing desk?
Typically, you can expect to spend about 30 minutes to an hour assembling your standing desk. If you have a Pneumatic Sit-Stand Desk, you might finish even faster!
Do I need special tools to assemble my standing desk?
You mainly need a screwdriver and an Allen wrench. Some desks may require additional tools, but most come with everything you need in the package.
What if I lose a screw or part during assembly?
If you lose a screw or part, check the packaging carefully. Many manufacturers offer replacement parts. You can also visit local hardware stores for similar items.
Can I adjust the height of my standing desk after assembly?
Absolutely! Most standing desks allow for height adjustments even after assembly. Just follow the instructions for adjusting the height settings to find your perfect position.
What should I do if my desk feels wobbly?
If your desk wobbles, check all screws and bolts to ensure they’re tight. Use a level to confirm the desk is even. Adjust the legs if necessary for stability.
Post time: Sep-06-2025

